Scratch building a hull – Part II
By: Onno Heesbeen
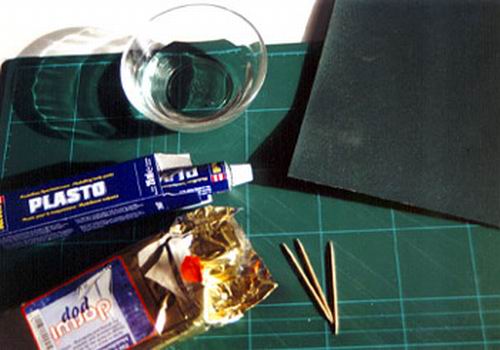
Materials:
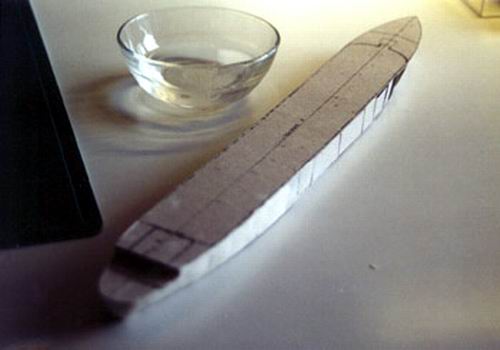
The following picture shows the materials and tools for this second part of this article. You will need air drying modeling paste (make sure it is paste that has no, or very little shrinking percentage when hardened), a tube of putty (Revell calls it Plasto), a bowl of water and some sandpaper. You could use modeling tools for clay if you like.
Getting Started:
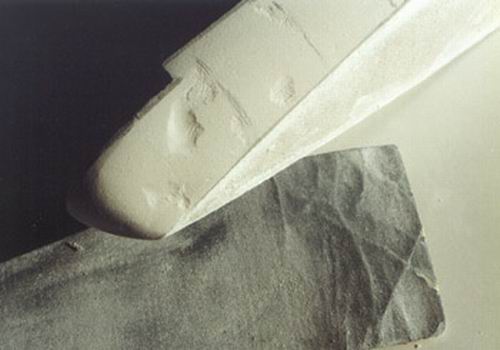
The second part of the scratch building a hull article will be about smoothening the hull. We will go further with the rough hull as we left it at the end of the first part of this article by filling up the sides of the hull. First take some of the modeling paste and knead it with water so that it will be moldable for filling in the sides of the hull. You can start with the segments at the bow or as I did at the stern. Apply little pieces of your kneaded paste until you completely filled the segment. You can use the shape of the framing as a guide to mould the paste into the correct shape. As I suggested you could use modeling tools or use your fingers, I like to use my fingers because then you can not only see the correct shape but also feel it. With water you can smoothen the segments but be careful not to use too much water, the framing is made out of cardboard and cardboard loses its shape when it absorbs too much water.
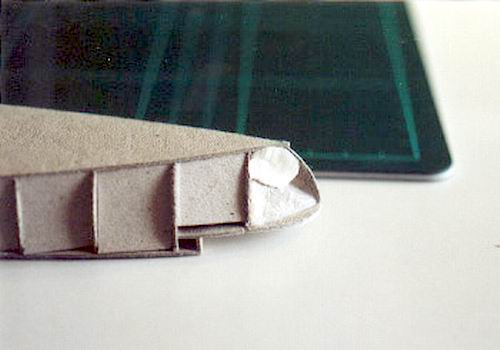
When you roughly filled the segments you move on to the next one and so further. It is best to work on both port and starboard sides of the ship simultaneously so when you finished the shape of a segment on one side you can mirror it on the other side. It is better to apply a bit more paste then needed to fill the segment but not too much, it safes time (and dust) at the sanding stage.
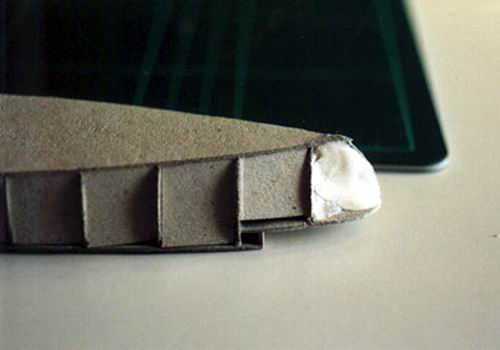
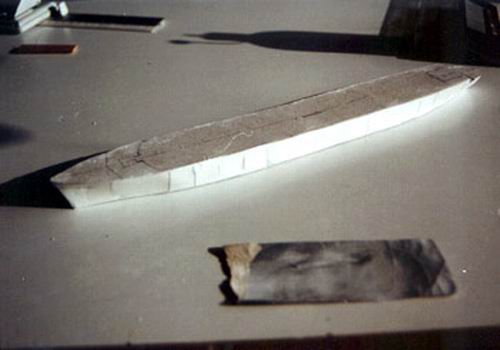
Now all segments are filled with the soft paste and if you like you can smoothen the complete hull a last time with water. Now the paste needs to air-dry and harden. Preferably let it dry 24 hours before you can resume working on the hull. The drying time depends on the amount of paste used, when it is a thin layer it doesn’t take too long but when it is a thick layer it will take longer to harden.
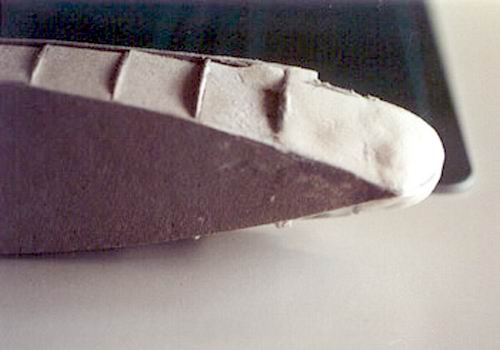
The paste now has hardened and you can start smoothening the hull. For the last stage you will need sanding paper that is not too rough. Use it to dry sand and smoothen the hull and get rid of all the excessive paste. Don’t use water when sanding because the paste will absorb it and get mushy. I recommend not to sand inside the house because the dust will get every where (I know from experience) work outside or in a well-ventilated hobby area where the dust is not a problem. I also recommend covering your mouth so that you won’t breath in the dust.
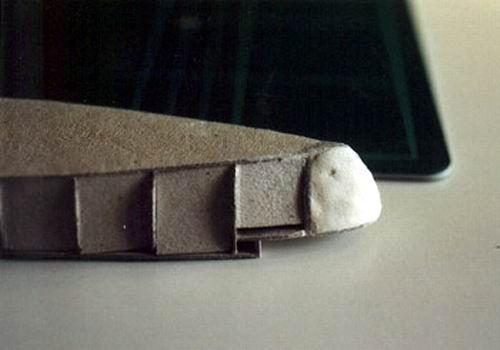
Again you can use the framing of the hull as a guideline so that you won’t sand away too much. Without a doubt you will have little cavities after sanding (see picture below) and now the putty is useful. Putty is mostly of a more solid type then the paste and it will harden more quickly so that you can continue working on the model. Use your sense of touch to feel if both sides are equal and smooth enough.
After filling the cavities and sanding a couple of times the hull is smooth enough to go to the next stage of detailing the hull but that is a subject that will be handled in the third and last part of the tutorial.
Have fun experimenting and trying out the techniques described in this article and if you have any questions, findings or remarks you can always post them on the Debris Field forum.
Success,
Onno Heesbeen _ 02 / 04