Queen Mary Progress Photos
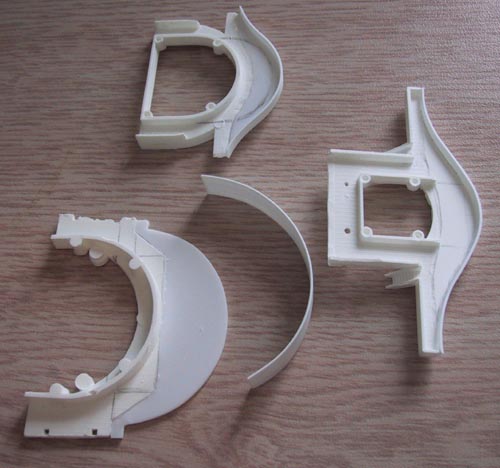
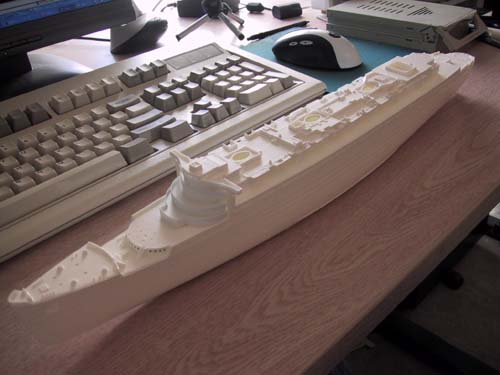
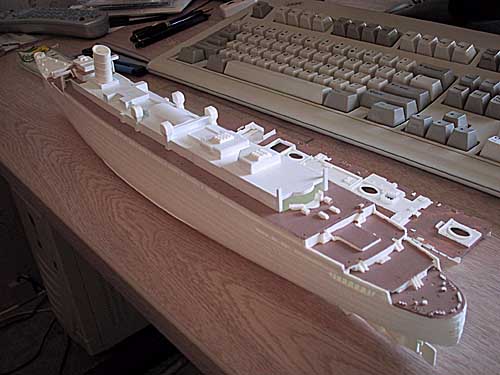
In its 'stock' condition, the Revell 1:570 scale model has quite a few inaccuracies, notably the bridge, which is seriously flattened in front profile. I have attempted to correct this by the addition of added evergreen stock, and using Queen Mary deck plans enlarged to approximate 1:600 scale as a guide. (The model is very near 1:600 scale, not 1:570) In the photos above, you can see the plastic "extensions" added to the stock parts. One could go further and cut out the entire parts in plastic as well. I nibbled enough of the older outlines away so I could glue on the new bulkhead walls, as seen in second photo. The bridge window divisions were made out of .2mm evergreen strips and carefully glued into place with fine tweezers.
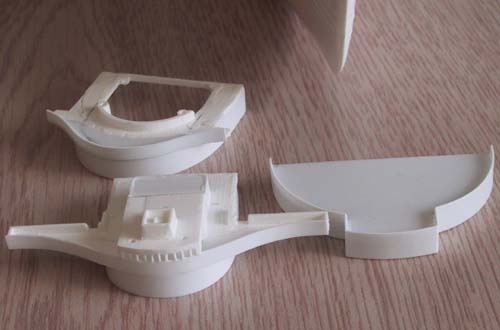
Dry fitting of the new altered parts shows a more realistic profile, as the QM should look with parts loosely fitted in place. Further work is to be done on the roof of the wheel house as well. The boat deck deckhouse was altered as described in detail farther below.
The default cargo hatch had to be removed, and a scratch version will be glued in the proper place. There is still sanding work to be done at the removed hatch.
An overall view of the altered model. This is after I altered the height of the deckhouse on the boat deck. On the model it is unrealistically depicted as a straight deck with no sheer, increasing in height to the stern, and ending up much too tall in the area of the Grill Restaurant. I had to cut down the lower half of the deckhouse to about 2mm in height all around in relation to the boat deck, as well as remove about 1mm of material from the upper half. While doing this, I removed some of the windows in the original configuration, but considered that an acceptable loss as they will be hidden by the davits anyways. Others may want to go further and place windows in the proper locations. Now, when glued down, and forced to follow the sheer of lower part, the deckhouse now has the proper height and sheer. Remember that after doing this mod, you will have to adjust the rake of the funnels when you glue them down, as the deck changes will have changed from flat to sheered. I also took on the task of removing all the thick railing on the model, quite a task in itself. A Dremel tool helps, along with an Olfa or Exacto type blade to nibble out the rest. This has to be done with extreme caution to keep your fingers out of harm!! Another method would be to scratch build the deckhouse in its entirety, which might be the best method.
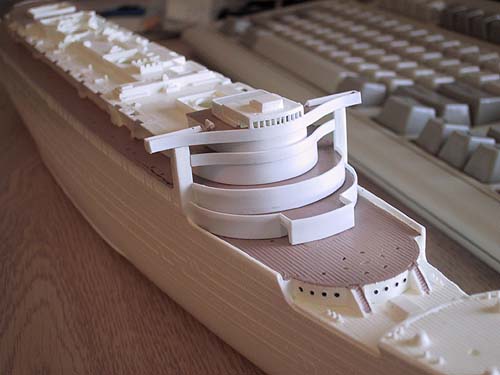
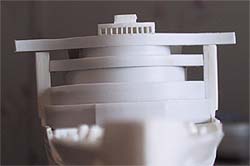
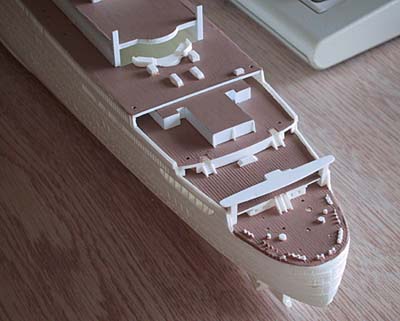
In these photos, the parts were sanded carefully and test fitted until they fit well, and had the proper height in relation to each other. I cut out the entrances to the 3rd Class entrance and added inner bulkheads. I'm still wondering what to do with the square blob on the roof of wheelhouse. Some minor crack filling will be needed before gluing and then retouching. The deck paint appears a little dark in the photos, but is in reality lighter without flash.
Update:
I decided to scratch build the entire deckhouse using Evergreen styrene. Though I earlier modified the original deckhouse by removing the railing, I still found it inaccurate in many areas, such as the bulkhead heights of the lift motor houses, gymnasium, squash court, and the barrel vault roof over the lounge, etc. It is actually easier to scratch build the entire deckhouse than to try and convert the original. Adding the proper heights and cutting away changes to the original deckhouse would be more work than it is worth, as I found out. The configuration of the companionway landings were also wrong. I decided to model the Queen Mary in her maiden voyage configuration, before later additions and changes were made to her upper decks.
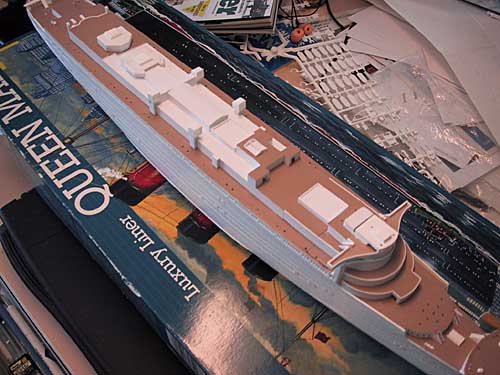
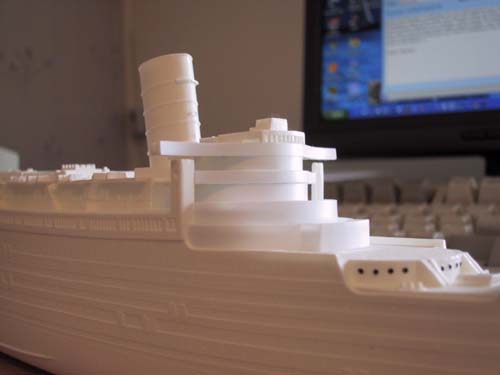
Photo showing the drastically changed upper works mostly dry-fitted and some parts painted. Vent uptakes have been added, and the task of davits, companion ways, strength webbing on the lounge bulkheads and the access walkway is soon to come.
New deckhouse test fitted in place. Note the old stock one next to hull. Now the deckhouse looks more scale, with vents and engine hatch tops in place. The barrel vaulted roof was built using thin Evergreen styrene and "rolled" to shape using the edge of a table.
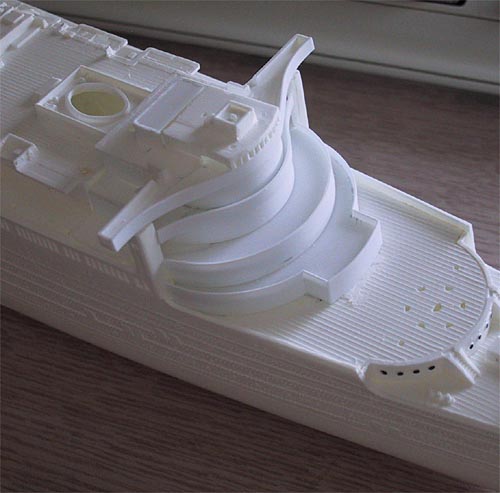
The tourist lounge roof and fan boxes have been rebuilt; need to install bulwark dividing the companionways from sun deck to the tourist class roof & promenade deck. The tourist class entrance roof and fan boxes have been put into place, and the bulkheads opened up on both sides. I had to splice on a section of scratch deck on each side so the promenade deck would extend under the Sun deck. Some of the vertical steel buttresses are in place on the tourist class aft bulkhead. The docking bridge rails have been removed, and it has to be cut down about 2mm so it is equal to the promenade deck height.
More photos and tips to be added soon as I progress.
Michael Cook.